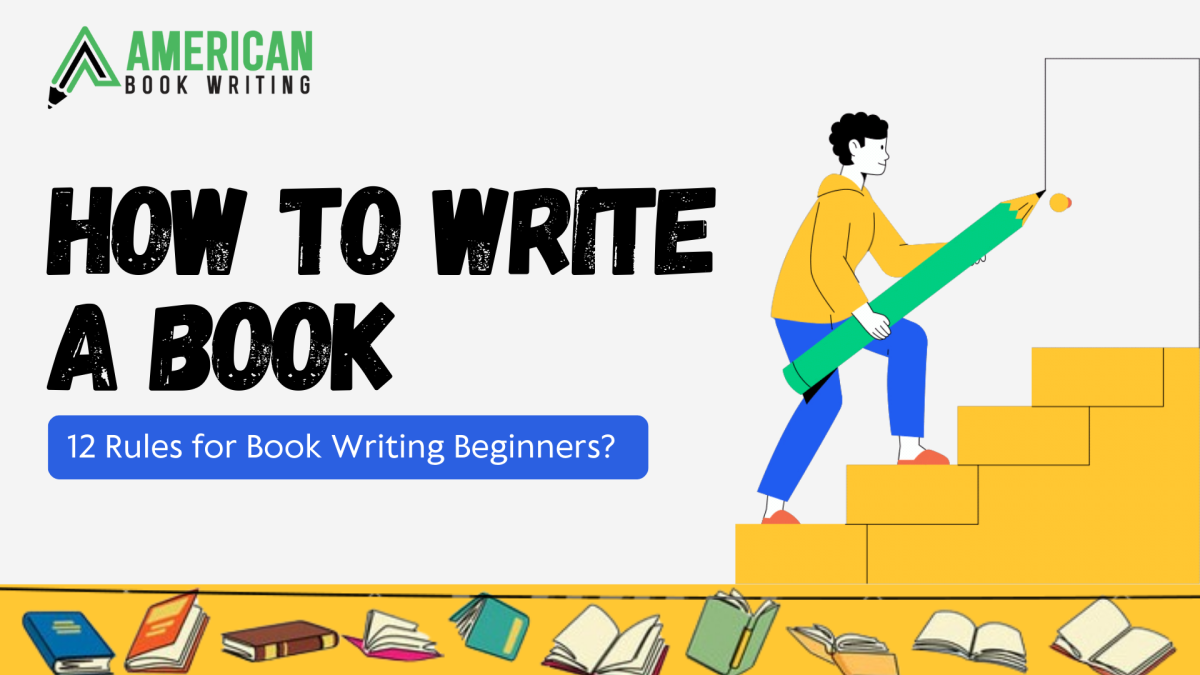
Book
Press The Play Button On The Audio To Listen Complete Article!
Drawing can be a fun and creative activity for children, allowing them to express their imagination and develop their artistic skills.
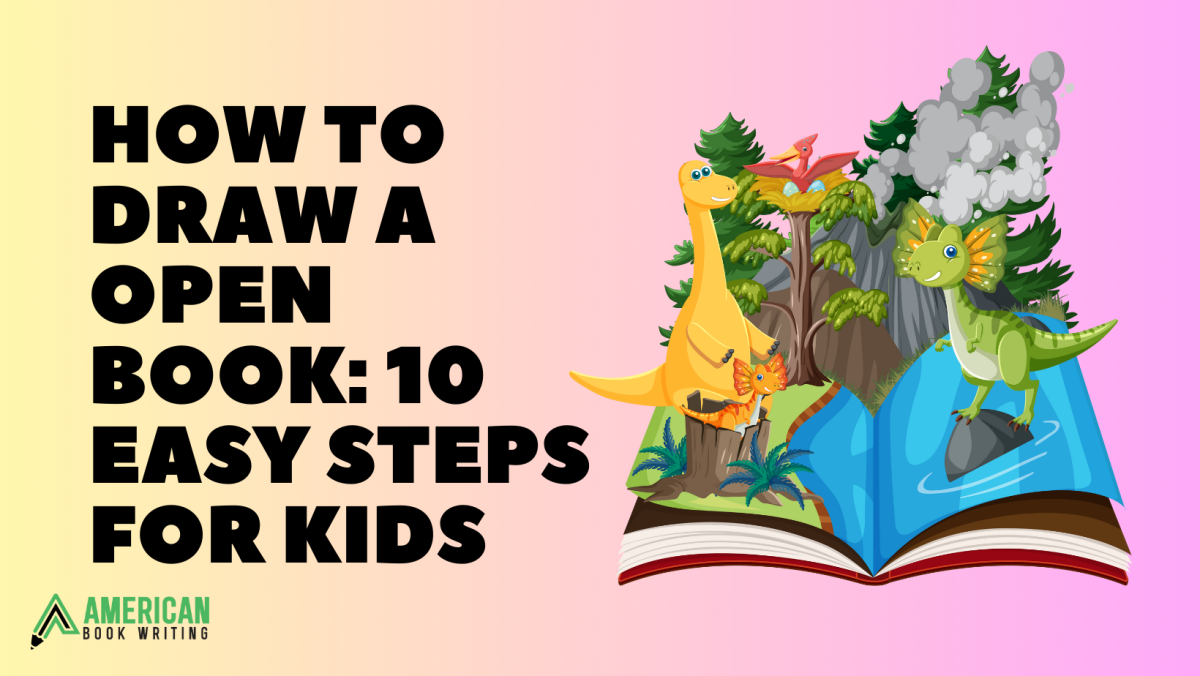
It will be one of the most amazing experiences for kids to draw an open book, learning valuable skills in imagery, such as lines, shapes, and proportions. This activity not only familiarizes them with basic principles of perspective and storytelling but can also inspire creativity when they decide to write a children’s book, elevating their artwork to another level.
The key to success in drawing is practice and patience. Encourage your child to take their time, explore their creativity, and have fun throughout the process. Don’t worry about making everything perfect; the beauty of art lies in its uniqueness and personal touch.
10 Steps to Draw an Open Book: Quick and Easy Guide:
The charm of an open book lies not only in its pages but in the stories and ideas it holds. Through this artistic adventure, young artists will discover the joy of bringing a simple yet captivating image to life on paper.
Each step is crafted to be approachable and enjoyable, encouraging kids to explore their artistic instincts and develop foundational drawing skills.
Below is the step-by-step guide to drawing an open book:
1. Start with the Base:
Begin your drawing by creating a horizontal rectangle in the center of your paper. This foundational shape will act as the canvas for your open book. Ensuring that the rectangle is proportional and centered on the page is crucial. This ensures a balanced and visually appealing composition.
To achieve this, you might want to lightly sketch a vertical and horizontal line intersecting at the center of your paper. Use these guidelines to position and shape your rectangle accurately.
2. Draw the Left Page:
Moving on, visualize the left page of the open book. On the left side of the rectangle, draw a gently curved line that starts from the top corner and extends down to the bottom corner. This subtle curve replicates the effect of a page bending slightly, adding a touch of dynamism to your illustration.
Ensure that the curve is smooth and natural, contributing to the overall organic feel of the open book.
3. Create the Binding:
Now, let’s give your open book some structure, its excerpt exemplifying gothic fiction. Draw two vertical lines connecting the rectangle’s top and bottom corners. These lines form the binding of the book, determining its thickness. Adjust the length of these lines based on your preference for how thick or thin you want the book to appear.
The binding is a critical element, as it holds the pages together and serves as a central point of symmetry for the open book.
4. Outline the Right Page:
Replicate the process from step 2, but this time on the right side of the rectangle. Draw an open book with another slightly curved line representing the right page. This symmetry ensures that your open book looks balanced and harmonious.
5. Add Details to Pages:
Draw a horizontal line across each page to simulate the appearance of ruled notebook paper. Position this line slightly below the center of each page. This detail divides each page into a top and bottom half, giving the impression of ruled lines commonly found in books.
This step sets the stage for the subsequent details you’ll add to make your open book more realistic.
6. Draw the Fold:
Introduce a subtle but crucial detail by drawing a small curved line at the bottom center of each page. It represents the fold or crease of the pages, indicating that the book has been opened and the pages are naturally settling.
This nuanced touch adds a layer of realism to your illustration, suggesting that the book has been interacted with and has a tangible, three-dimensional quality.
7. Add Page Details:
To further enhance the realism of your open book, draw small, horizontal lines across the pages to represent text. You can also add simple shapes or doodles to mimic illustrations within the book. This step allows you to unleash your creativity, making each page unique.
8. Create a Border:
Enhance your drawing with a polished finish by outlining the open book with a border. This border adds a sense of containment and completion to your illustration. Whether you’re creating a technical or creative piece, consider experimenting with the border’s thickness or incorporating decorative elements to suit the type of cover letter you’re aiming for.
9. Erase Unnecessary Lines:
Clean up your drawing by erasing the initial sketch to help shape your book. This step leaves only the final outlines, producing a cleaner and more refined appearance.
10. Color or Decorate (Optional):
If you choose to use coloring materials, bring your open book to life by coloring the pages, cover, and any additional details you’ve added. This is the stage where you can let your imagination run wild, experimenting with colors, patterns, and textures to make your open book truly unique.
Preventive Measures for Drawing Open Books Like a Pro
When drawing an open book, whether for artistic purposes or as part of an illustration, there are several precautions you can take to ensure a more accurate and visually appealing representation. Here are some tips:
Study Reference Images:
Look at real open books or high-quality images of open books to understand the details of the pages, binding, and cover.
Understand Perspective:
Pay attention to the perspective and angle of the book. Ensure that lines and angles are consistent to create a realistic representation.
Start with Basic Shapes:
Begin by sketching basic shapes to draw an open book. This will help you establish the overall structure before adding details.
Proportions and Size:
Maintain proper proportions for the book, pages, and cover. Ensure that the size of the book feels natural and balanced.
Details on Pages:
If you’re adding details to the pages, consider the scale of the text and illustrations. Keep them proportionate to the size of the book.
Spine and Binding:
Pay attention to the spine and binding. Include the necessary details, such as ridges and any text or patterns on the spine.
Consistent Lighting:
If you’re adding shadows or highlights, be consistent with the direction of light throughout the drawing. This helps create a more realistic appearance.
Texture and Material:
Consider the texture of the book cover and pages, especially when aiming to self-publish a hardcover book. Differentiate between hardcovers and paperbacks, and add texture where appropriate.
Use Proper Tools:
Use the appropriate tools to achieve the desired effects depending on your chosen medium (pencil, ink, digital). For example, hatching and shading techniques can add depth and realism.
Check Symmetry:
Ensure that the left and right pages are symmetrical if they are visible. It is important to draw an open book to maintain a sense of realism.
Experiment with Composition:
Play with the composition to make the drawing more interesting. You might add bookmarks, reading glasses, or a background setting.
Practice:
Practice drawing open books regularly to improve your skills and develop your style. The more you practice, the more confident and proficient you will become.
Conclusion:
Drawing stimulates their imagination and creativity and promotes hand-eye coordination and attention to detail. It is a fun and creative activity for kids. Following these 10 easy steps, children can learn the basics of drawing and enhance their artistic skills. They can gradually add details like pages, covers, and titles, starting with the book’s outline.
Using basic shapes and lines helps simplify the drawing process, making it accessible for young children. With practice, kids can create unique variations of open books, exploring different colors and designs.
FAQs:
How can a book writing service benefit parents and educators using the drawing tutorial for kids?
Book writing services ensure the creation of a well-structured, engaging, and educational resource. Parents and educators can leverage such services to obtain a professionally crafted guide that aligns with educational standards, making it easier to teach kids the art of drawing an open book.
Can I have copies of the published tutorial for personal use or distribution?
Discuss this with the book publishers near you to determine the terms of author copies and any additional copies you may receive for personal use or distribution. These terms are typically outlined in the publishing agreement.
How long does it take for an eBook writing company to complete the creation of a drawing tutorial for kids?
The timeline varies based on the project’s complexity and the services requested. Discuss the expected timeline during the initial consultation to clearly understand the production schedule.
What kind of content can be included in an icebreaker book for a drawing tutorial aimed at kids?
Content for an icebreaker book can range from interesting facts about drawing and art to interactive quizzes, jokes, or even a short story related to the theme of drawing an open book. The goal is to create an enjoyable and immersive experience.
Are there specific affiliate marketing strategies recommended for promoting content related to children’s drawing tutorials?
Yes, affiliate marketing books may offer specialized strategies for promoting content geared toward children. This can include partnering with parenting bloggers, children’s education influencers, or websites for kid-friendly activities.